Why to create a project
A user can upload his elearning zip file and create a project. Which then enables him to run operations like compression, editing etc.
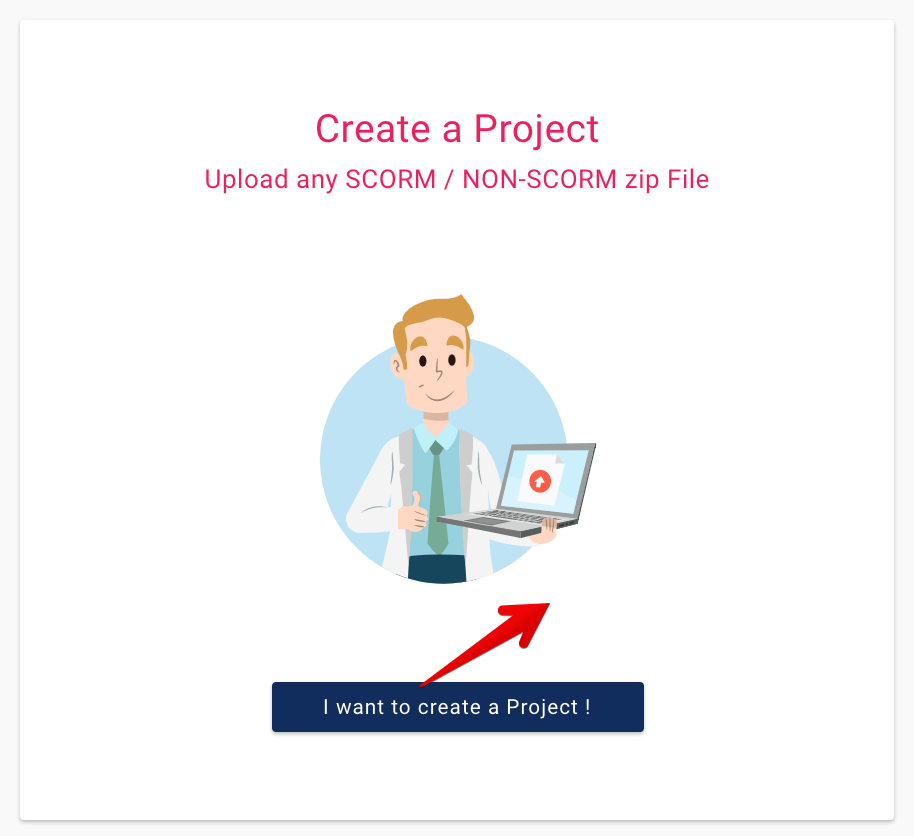
Creating a project

1 Click on “I want to create a Project” button

2a In the upload box, provide a name to your project. A good name could be something that can help you remember this project later e.g. “Code of Conduct 2020” , in case you were working on a SCORM (.zip) file which was related with Code of Conduct elearning.
2b Browse your zip file and upload. Depending on the size of your file, it may take time from a few seconds to a few mins. Once it successfully uploads, the box disappears.

3 You would be able to see your project with relevant details
- Project Name : Name of the project you provided
- Date : When the upload happened
- Zip Size : Size of the file on disk (This may be more than actual size of file)
- Manage : where you edit and delete the scorm file.

Note : Your files may wait longer or take more time to process, depending on the other jobs running on the server.
Link to Video tutorials: YouTube
Click for free sign up
